Contrary to popular belief, the purpose of resuscitation is not to “revive” a person who has died. The purpose of resuscitation is to prevent brain death and a decline of the patient’s current state. The act of resuscitation postpones brain death by “replacing” the actions of the heart.
The factors that significantly increase the chances of patient survival after resuscitation are:
- Rapid detection of cardiac arrest.
- The start of effective chest compressions as soon as possible.
- Providing electric shock, if needed, as soon as possible.
When performing CPR, administering chest compressions is the most important aspect that benefits the patient, so we will strive to reach the patient as quickly as possible and perform them as efficiently as possible, as explained later on.
First, ensure the safety of the responder and patient. If necessary and possible, leave the endangering object/situation.
What could endanger our personal safety?
- Fires
- Presence of electricity
- Bystanders and curious onlookers
- Terror attacks
- Alternative vehicles
Checking consciousness –
*** It is important to execute this step quickly and move on to the next step to start chest compressions as quickly as possible ***
We evaluate the level of consciousness by the AVPU scale:
Alert Fully conscious
Voice Only responds to voice
Pain Only responds to pain
Unresponsive Unable to respond at all
We will evaluate the level of consciousness in two stages:
First Stage – Verbal Test
- We will try to gauge the patient’s responsiveness through speech and shoulder contact to stimulate the patient: Asking the patient, “Sir? How do you feel?” and clapping our hands by their ear.
- If the patient answers clearly and matter-of-factly, we can define the patient as fully conscious.
- If the patient moves or mutters a non-substantive answer, the patient can be defined as responding to voice only.
Second Stage – Physical Examination
- The responder should press the trapezius muscles with significant force (“the massage muscle”, between the shoulder and the neck).
- If the patient responds with a movement or murmur, the patient can be defined as semi-conscious.
- If the patient is unresponsive, we will declare the patient unconscious and immediately move on to the next step.
At this step we will do three things simultaneously:
- We will ask a bystander to dial 101.
- We will ask another bystander to quickly look for a defibrillator (a resuscitation device; we will explain its function later on).
- We will place a hand on the patient’s chest, look at their abdomen, and look for a rise and fall of the chest area (a sign that the person is breathing). If the patient is not breathing or not breathing properly, this means that the patient has no pulse (or their pulse will be lost very soon).
- Next, we need to expose the patient’s chest and evaluate whether they are breathing properly. (It is of utmost importance to distinguish agonal/terminal breaths – slow and superficial breaths which are ineffective. If the patient is breathing ineffectively they will be considered not breathing).
- If the patient is breathing independently and at a steady rhythm, we will continue treatment according to procedures for syncope (fainting).
- If the patient is not conscious and not breathing/breathing abnormally, we will move on to the next step in the procedure.
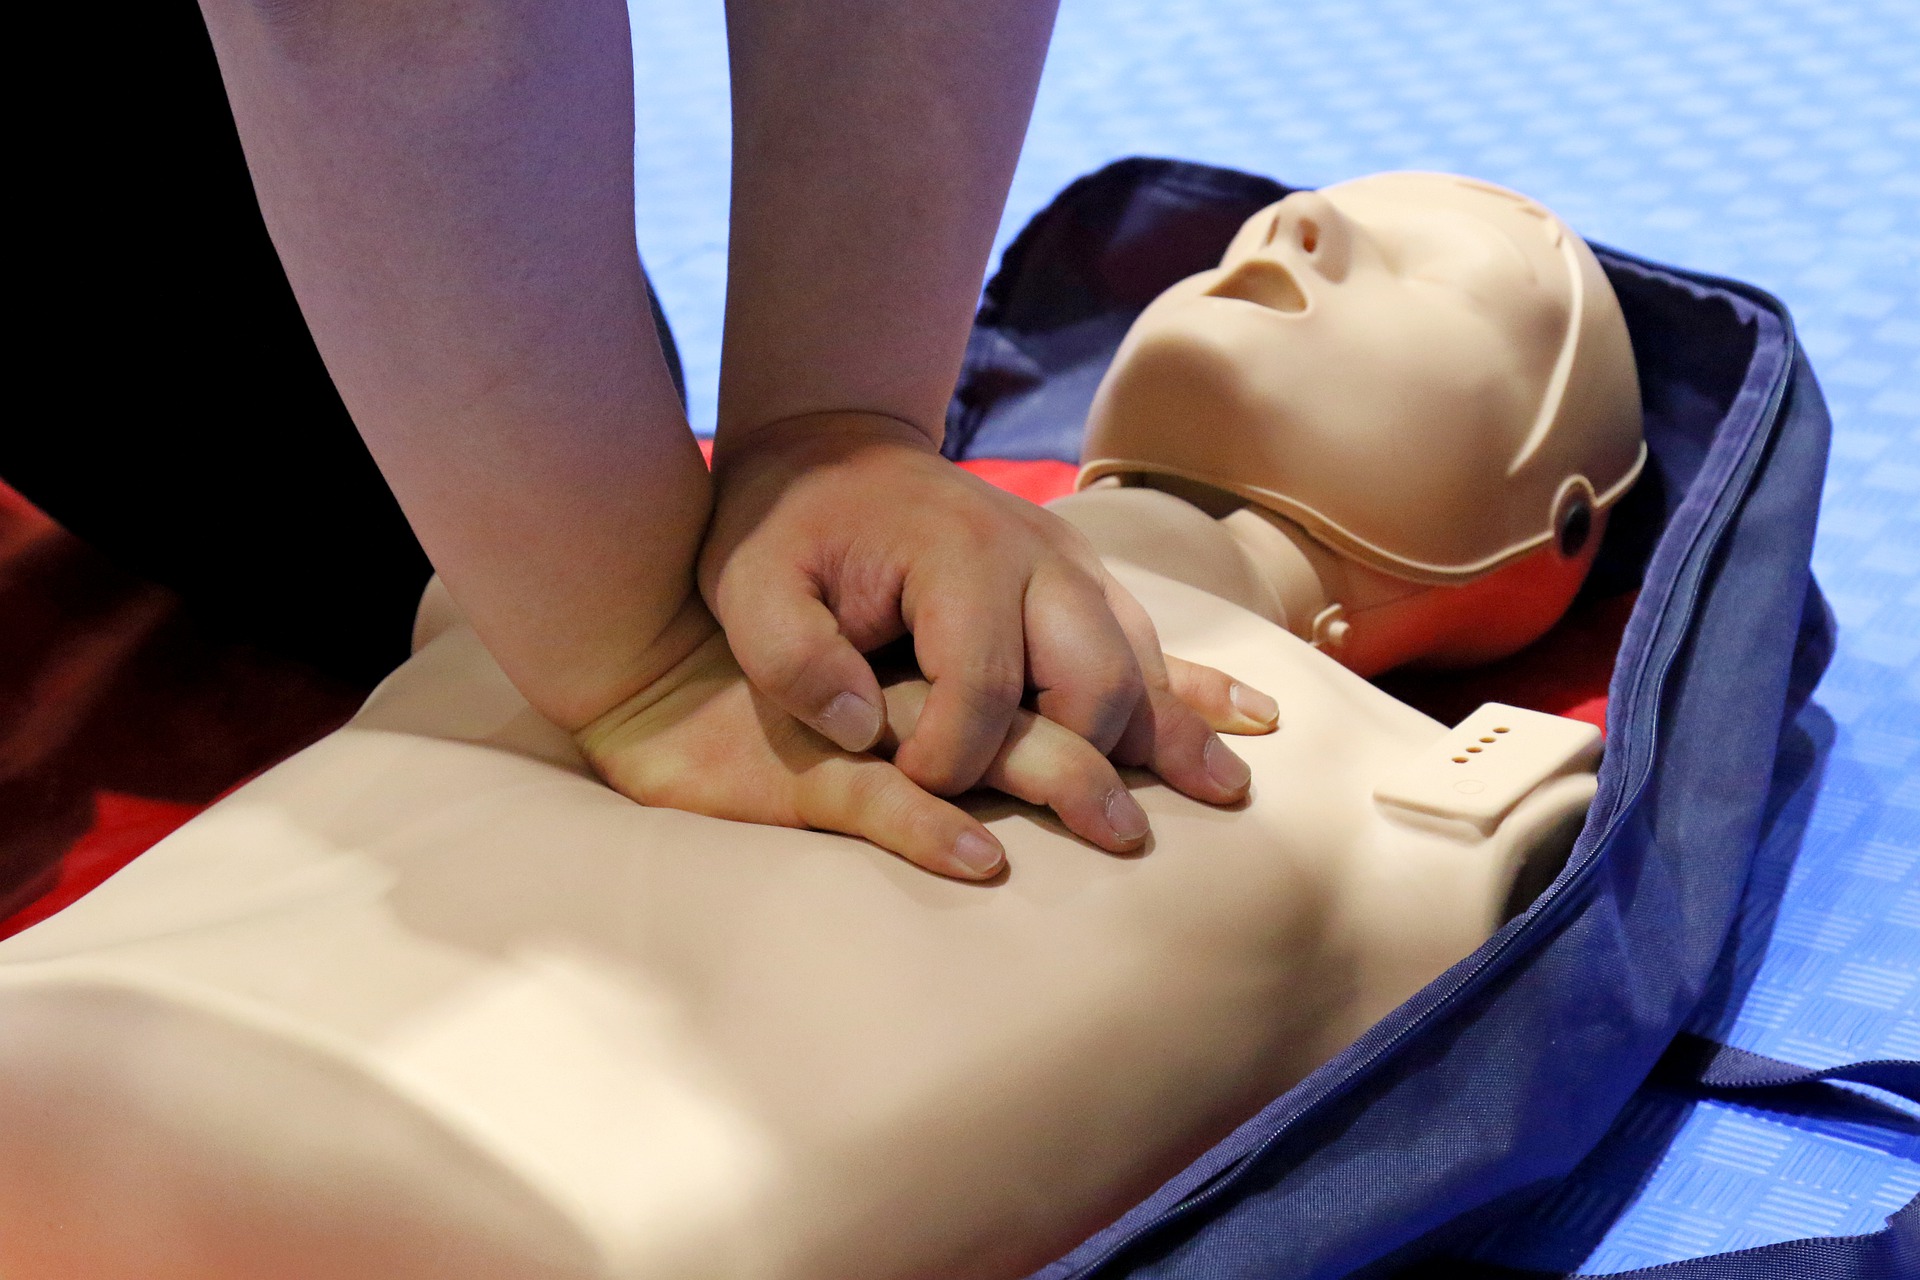
- Stand on your knees with an upright back by the patient’s side. Place your hands, with the palm of your dominant hand resting in the center of the chest, and the weak palm embracing the strong palm. Make sure you keep your elbows locked (whole arm – at 180 degrees) and knees at 90 degrees relative to the body.
- Start compressions. Note that each compression set consists of a deep compression followed by a release of pressure.
- Care should be taken to keep the elbows locked to prevent wrist muscle fatigue.
- It is important to emphasize 3 important concepts while performing chest compressions!
- Compression rate – 100-120 per minute. To keep up with the pace, you may sing one of these songs to yourself: “Ego do du” or “That’s the way (aha aha I like it)”. It is important to compress at a regular, set pace.
- The depth of the compressions will be 1/3 of the chest (about 5-6 cm in an adult).
- Do not stop chest compressions! Keep the compressions continuous until the ambulance arrives. Any required interruption cannot exceed 10 seconds.
- Be sure to have responders switch every two minutes, with as little a break as possible between compressions when switching.
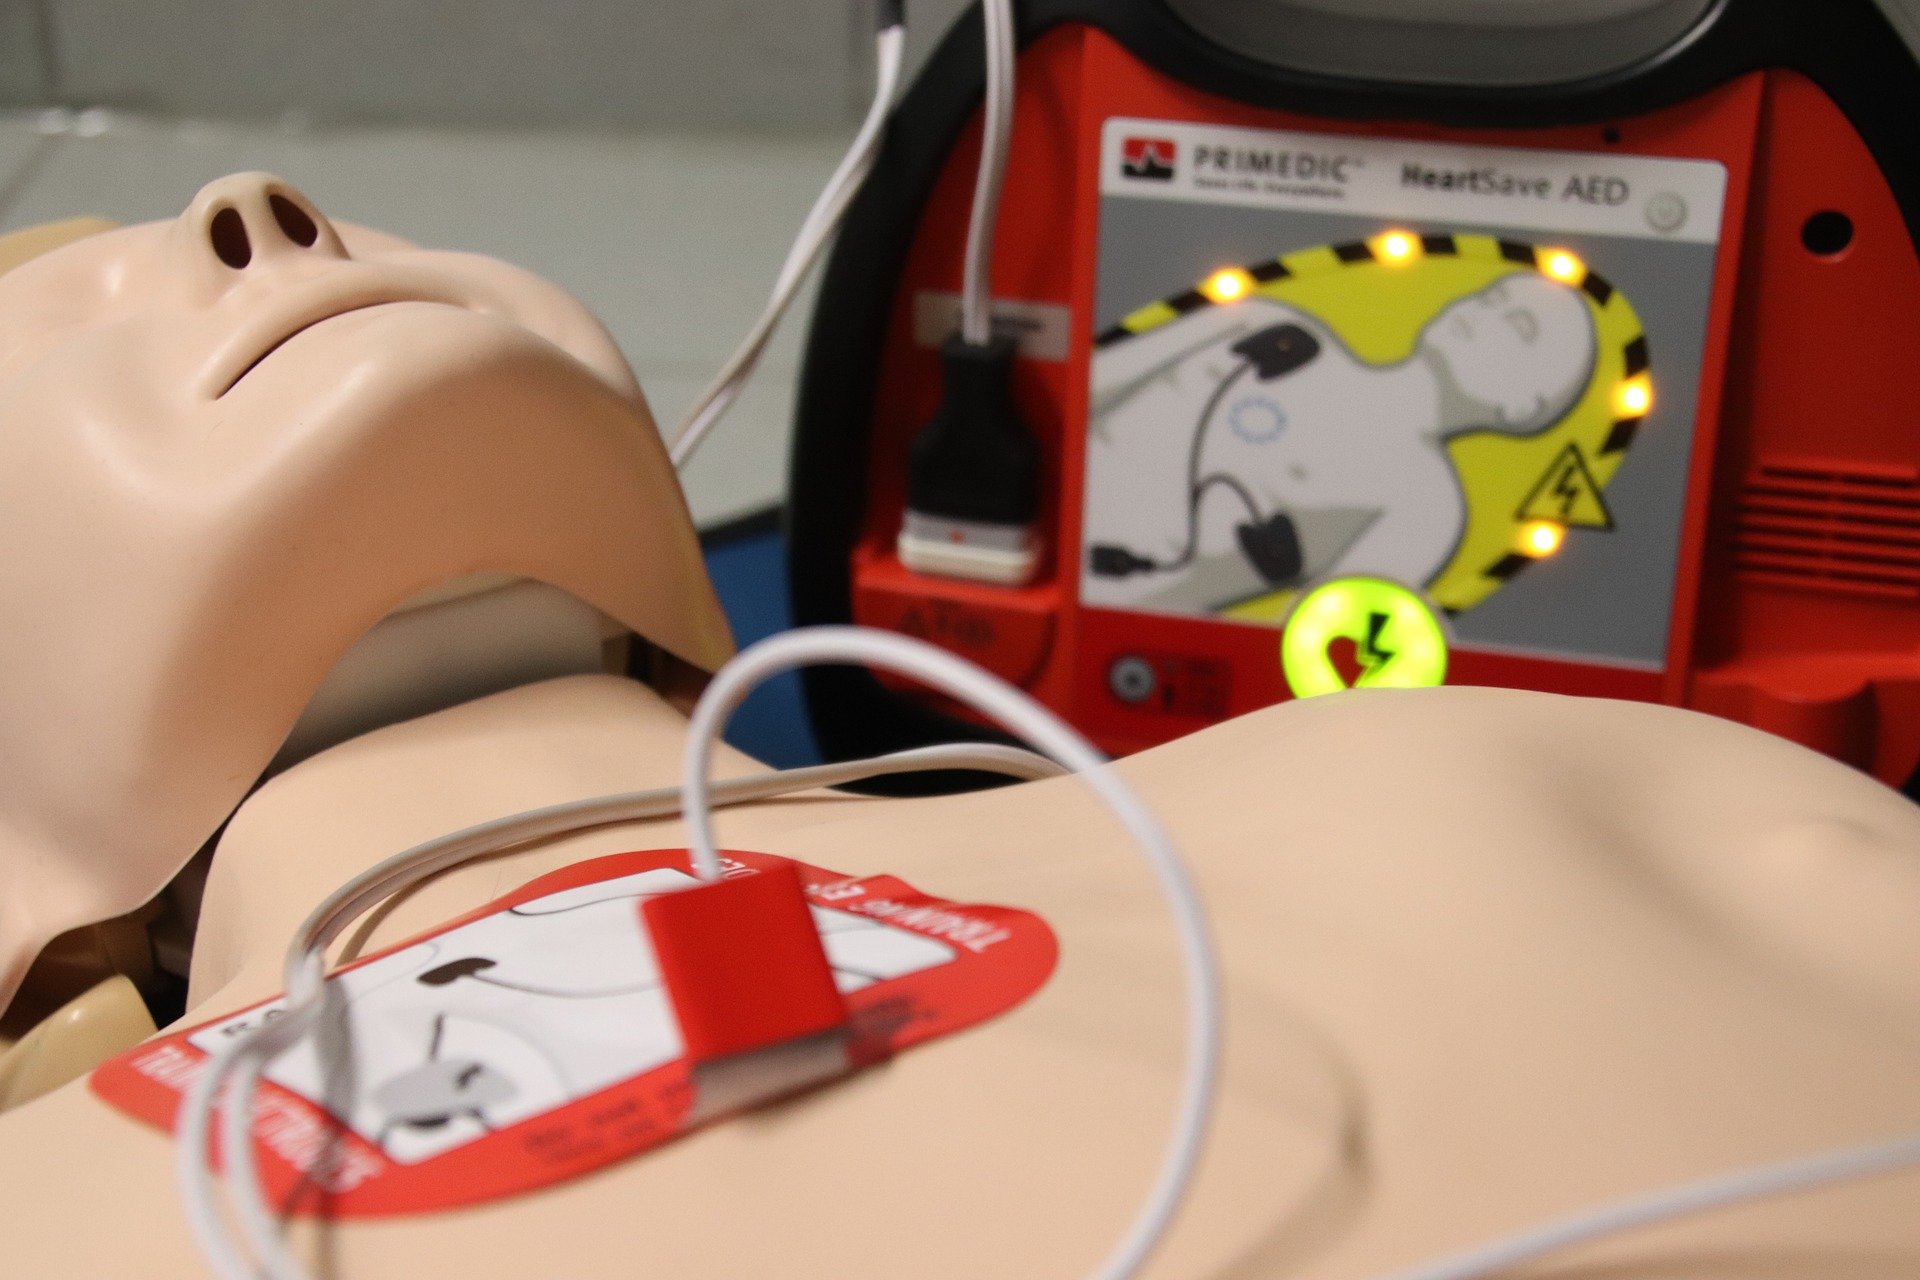
- A defibrillator should be connected as soon as possible, without any pause in compressions. If the device recommends providing a shock – compressions should be performed continuously from the moment of recommendation by the device and up to the moment before actual administration of the shock.
- For children, we will perform chest compressions with one hand (instead of two for an adult), while maintaining awareness of the important concepts described above.
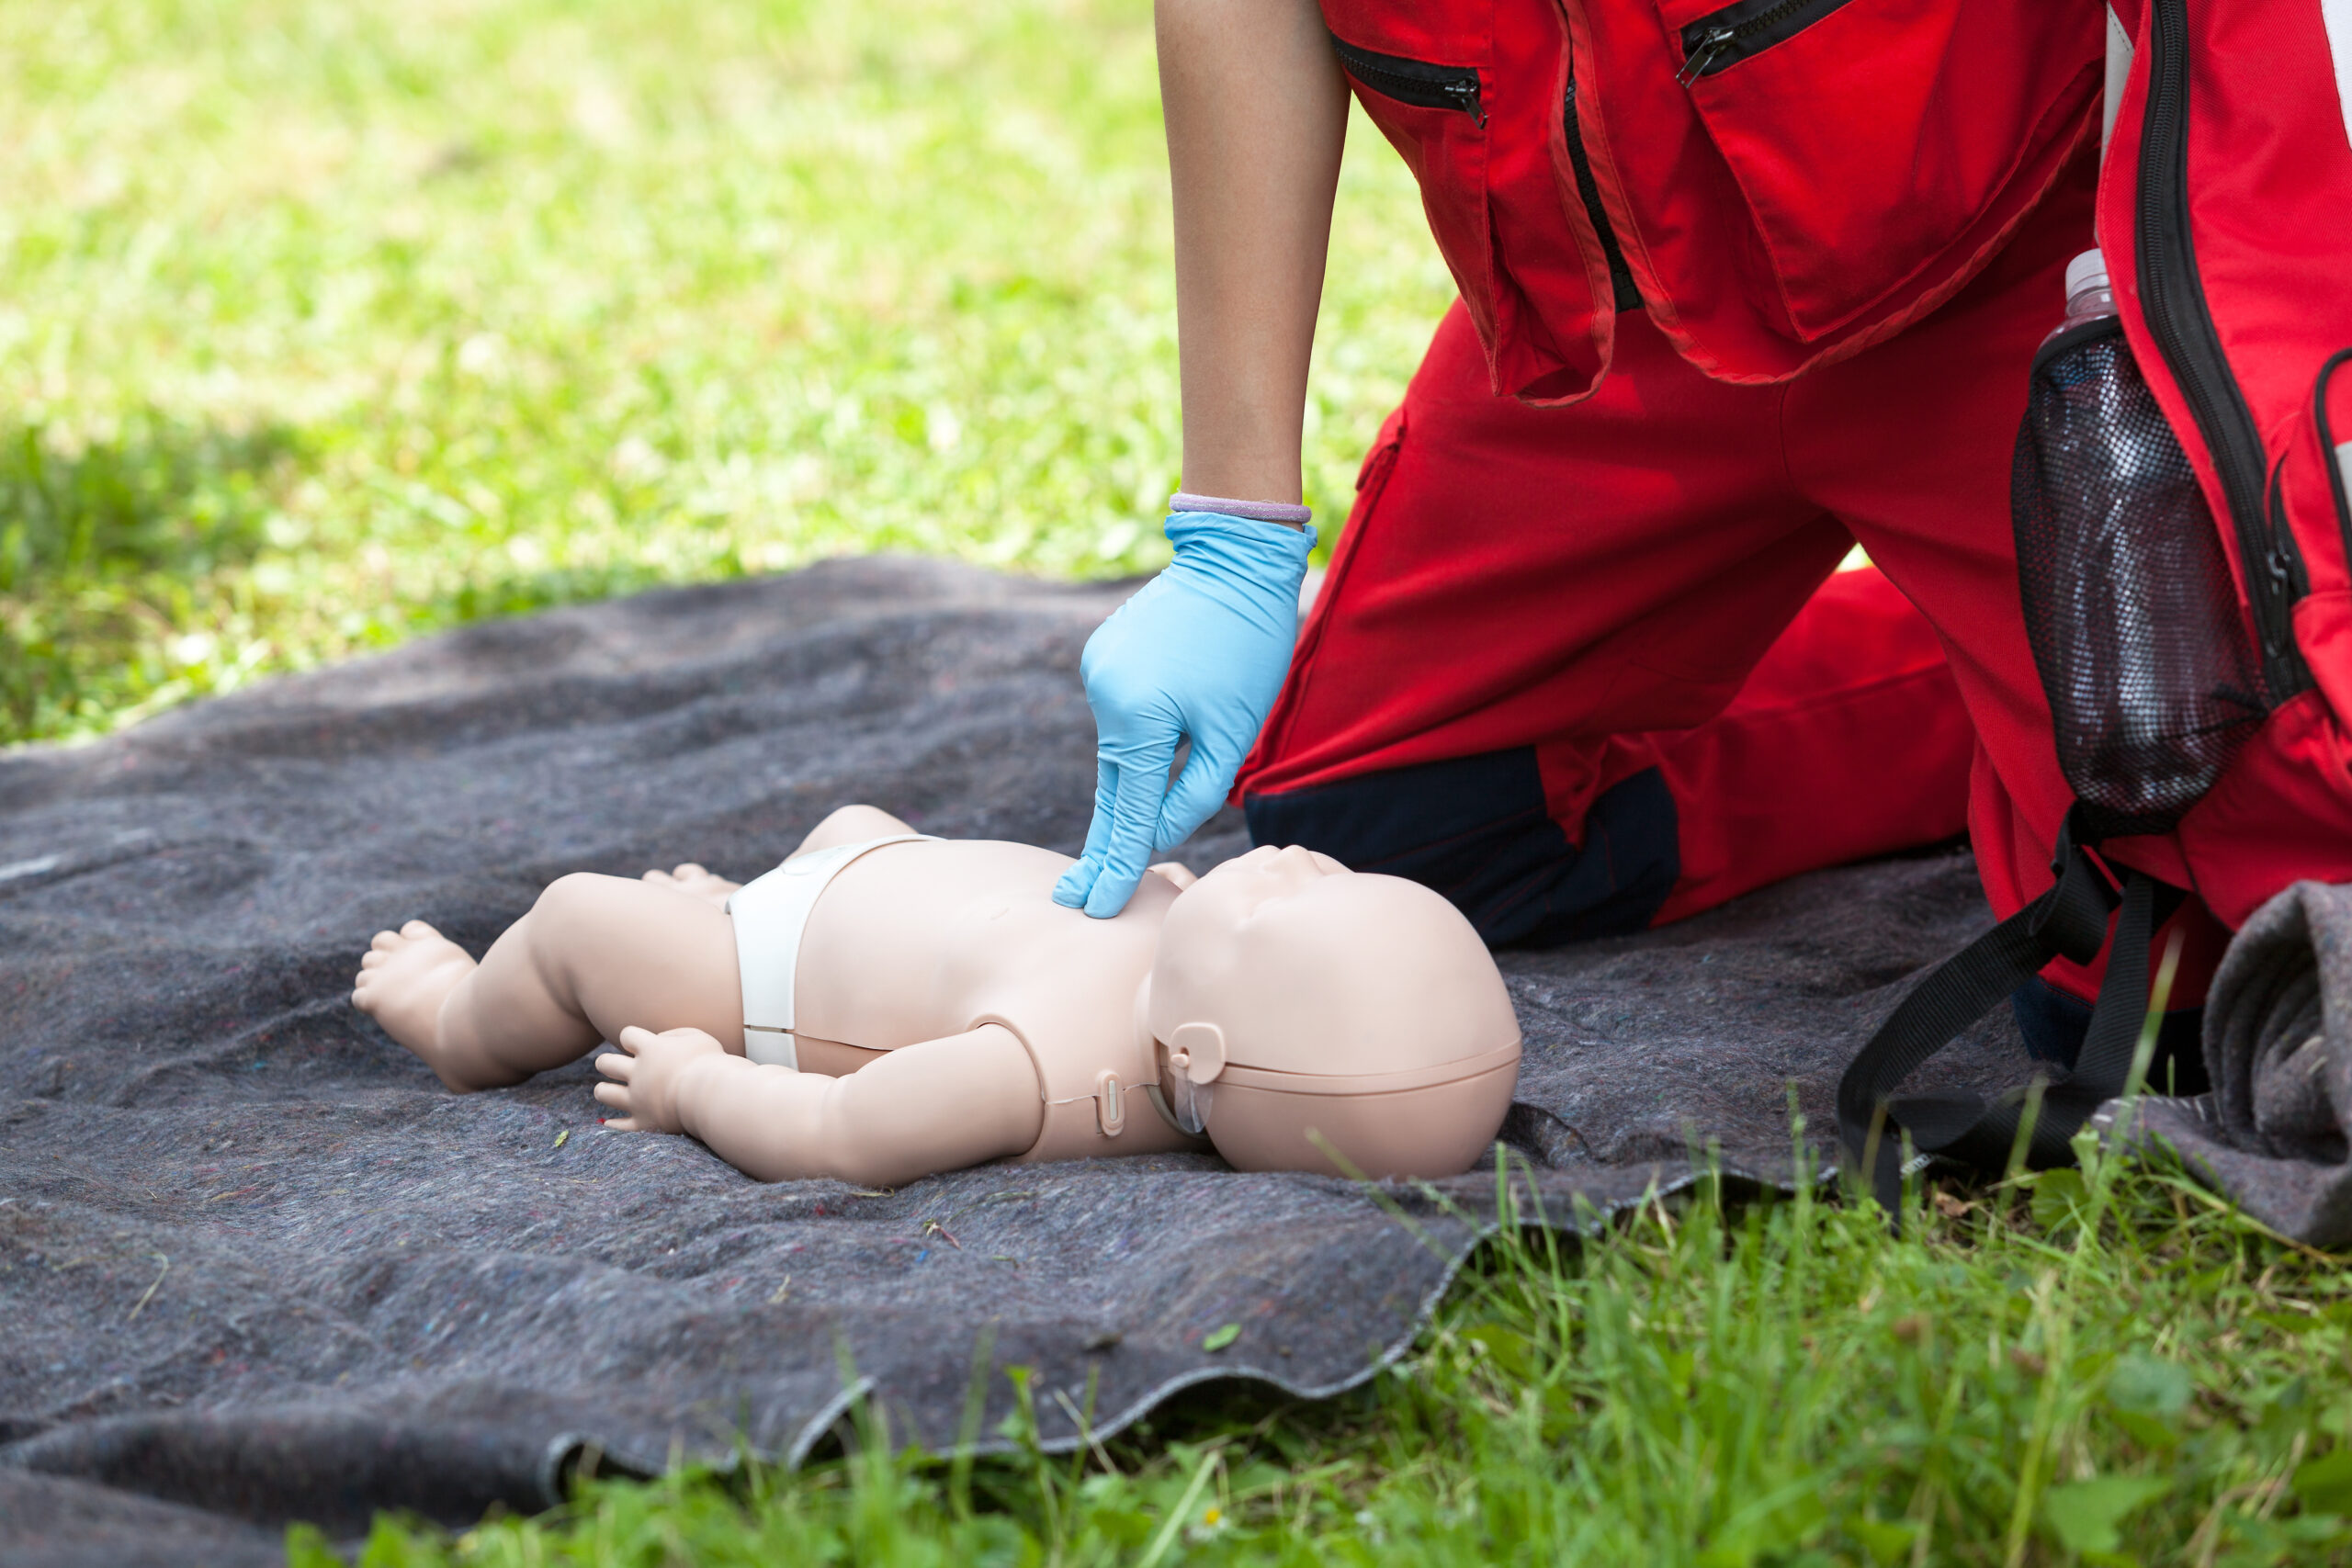
- For infants, we will perform two-finger compressions, in the center of the nipple line, with the baby lying on a hard surface, with a slight elevation from underneath the shoulders and at a rate of about 130 compressions per minute.
Note
We will only perform the CPR procedure according to C-A-B if we have CPR equipment (Ambo bag, valve, mask, oxygen tank, and suction), and only if there are enough skilled hands at the scene (remember: the most important step is performing chest compressions). We will start doing chest compressions until all the equipment is ready. Afterward, we will clear any excreted obstructions from the mouth using suction, then tilt the head back and insert an airway. Then we will perform two rescue breaths using the Ambo connected to oxygen and continue with chest compressions. Every 30 compressions we will perform two rescue breaths until the ambulance arrives.
Adult = from the appearance of signs of maturity (puberty)
Child = from 1 year old to puberty (in men – underarm hair, in women – breasts)
Infant = from 28 days to 1-year-old
Newborn = up to 28 days (not taught)
 Students Login
 Teachers Login
 did you know?